
The journal
How to cup coffee at home: a clear, usable guide
A simple, reliable cupping method: identical cups, a consistent 1:18 ratio (for example, 10 g coffee to 180 ml water), just-off-boil water, 4-minute steep, break the crust, skim, then slurp and retaste as it cools.
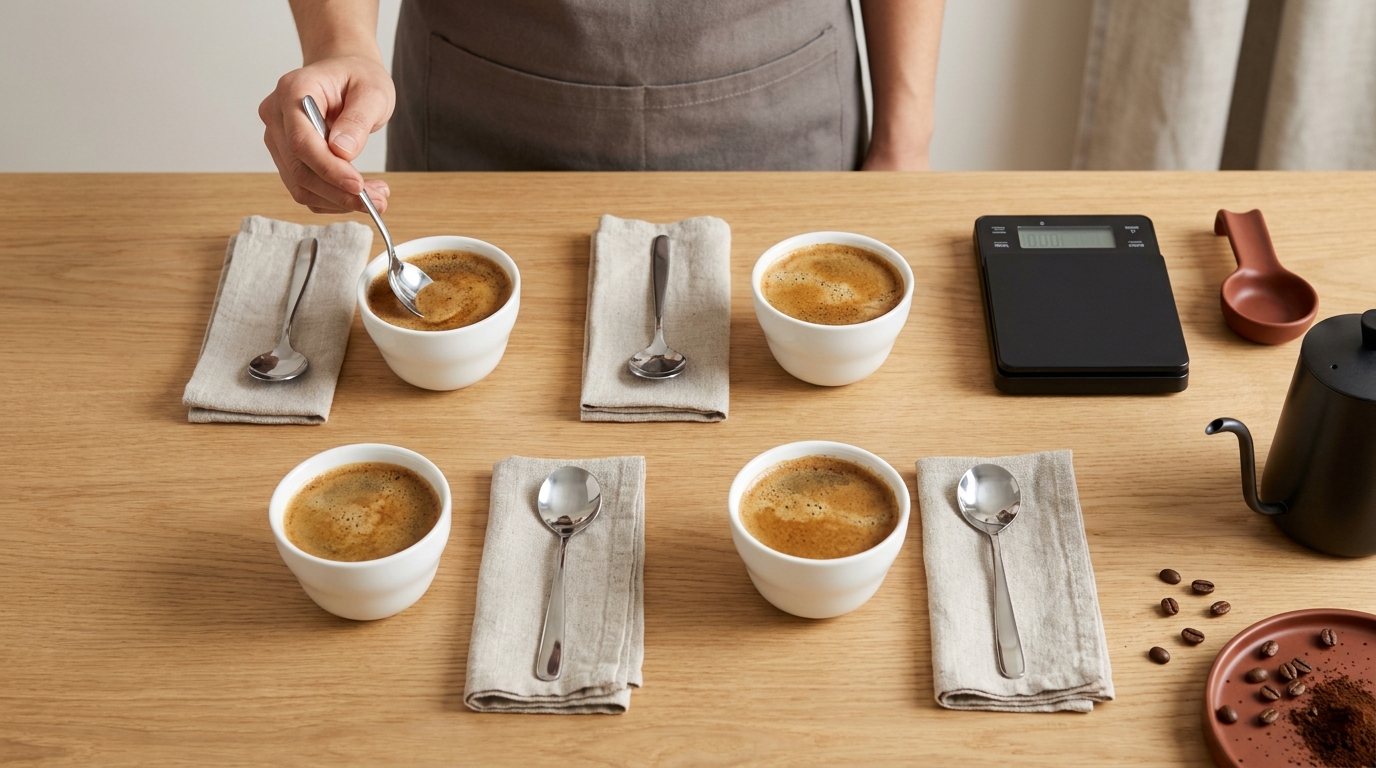
Yes. To cup coffee at home, set up identical wide-mouthed cups, use a consistent ratio (about 1:18, for example 10 g coffee to 180 ml water), pour water just off the boil, let it steep 3 to 4 minutes, break the crust, skim the foam, then slurp and retaste as it cools (https://www.peets.com/blogs/peets/how-to-do-a-coffee-cupping-at-home; https://methodicalcoffee.com/blogs/coffee-culture/coffee-cupping-a-step-by-step-guide?srsltid=AYCX9vL4Se3YZ4O6q1WTTnYHjaF7YL7RqLT23-Hy4Vrd5pSIKtlxAMCb).
What you need
Equipment and setup
Gather before you start so timing stays consistent:
- Two or more different coffees, whole bean
- Grinder, scale, timer, kettle, and spoons (soup or cupping spoons)
- Identical, wide-mouthed heatproof cups or bowls; 7 to 10 ounces works well so they’re easy to fill and taste from (https://pullandpourcoffee.com/getting-started-with-cupping-coffee-at-home/)
Professionals follow a standardized process with the same core steps you’ll use at home: smell grounds, brew without filters, break the crust, skim, then slurp and compare (https://methodicalcoffee.com/blogs/coffee-culture/coffee-cupping-a-step-by-step-guide?srsltid=AYCX9vL4Se3YZ4O6q1WTTnYHjaF7YL7RqLT23-Hy4Vrd5pSIKtlxAMCb; https://www.peets.com/blogs/peets/how-to-do-a-coffee-cupping-at-home).
Considering a grinder upgrade for more consistent particle size? See Why burr grinders are better: /articles/coffee-grinder-burr-vs-blade/.
Step-by-step home cupping
1) Dose and grind
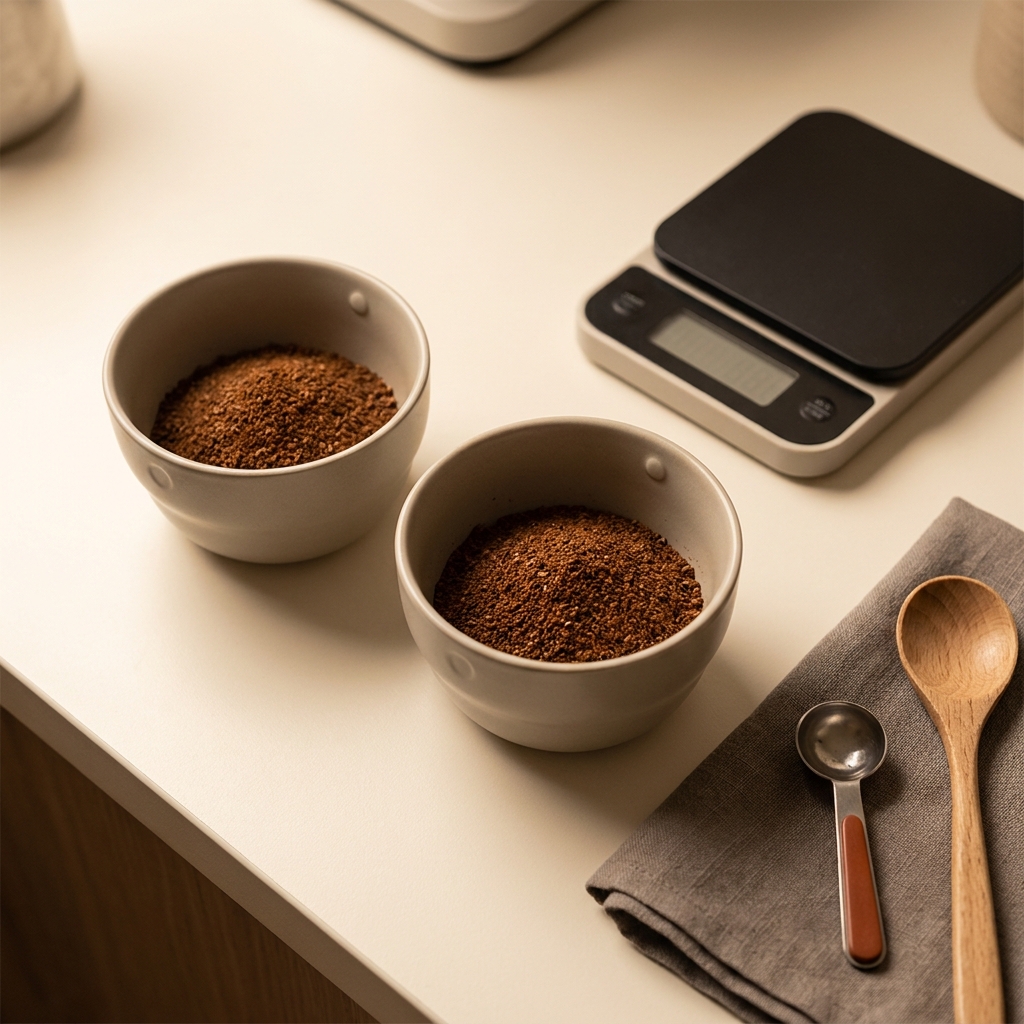
Use a 1:18 coffee-to-water ratio. A practical example is 10 g coffee per 180 ml water per cup. Grind medium (similar to table salt). Purge the grinder with a few beans when switching coffees so flavors don’t carry over (https://methodicalcoffee.com/blogs/coffee-culture/coffee-cupping-a-step-by-step-guide?srsltid=AYCX9vL4Se3YZ4O6q1WTTnYHjaF7YL7RqLT23-Hy4Vrd5pSIKtlxAMCb).
2) Smell the dry grounds
Fragrance is what coffee smells like when dry. Smell each cup right after grinding and jot your first impressions (https://www.peets.com/blogs/peets/how-to-do-a-coffee-cupping-at-home).
3) Brew and wait
Start your timer and pour water just off a boil over each cup, wetting all grounds evenly. Leave the cups undisturbed for 3 to 4 minutes. This immersion without filters is standard for cupping (https://www.peets.com/blogs/peets/how-to-do-a-coffee-cupping-at-home; https://methodicalcoffee.com/blogs/coffee-culture/coffee-cupping-a-step-by-step-guide?srsltid=AYCX9vL4Se3YZ4O6q1WTTnYHjaF7YL7RqLT23-Hy4Vrd5pSIKtlxAMCb).
4) Break the crust and skim
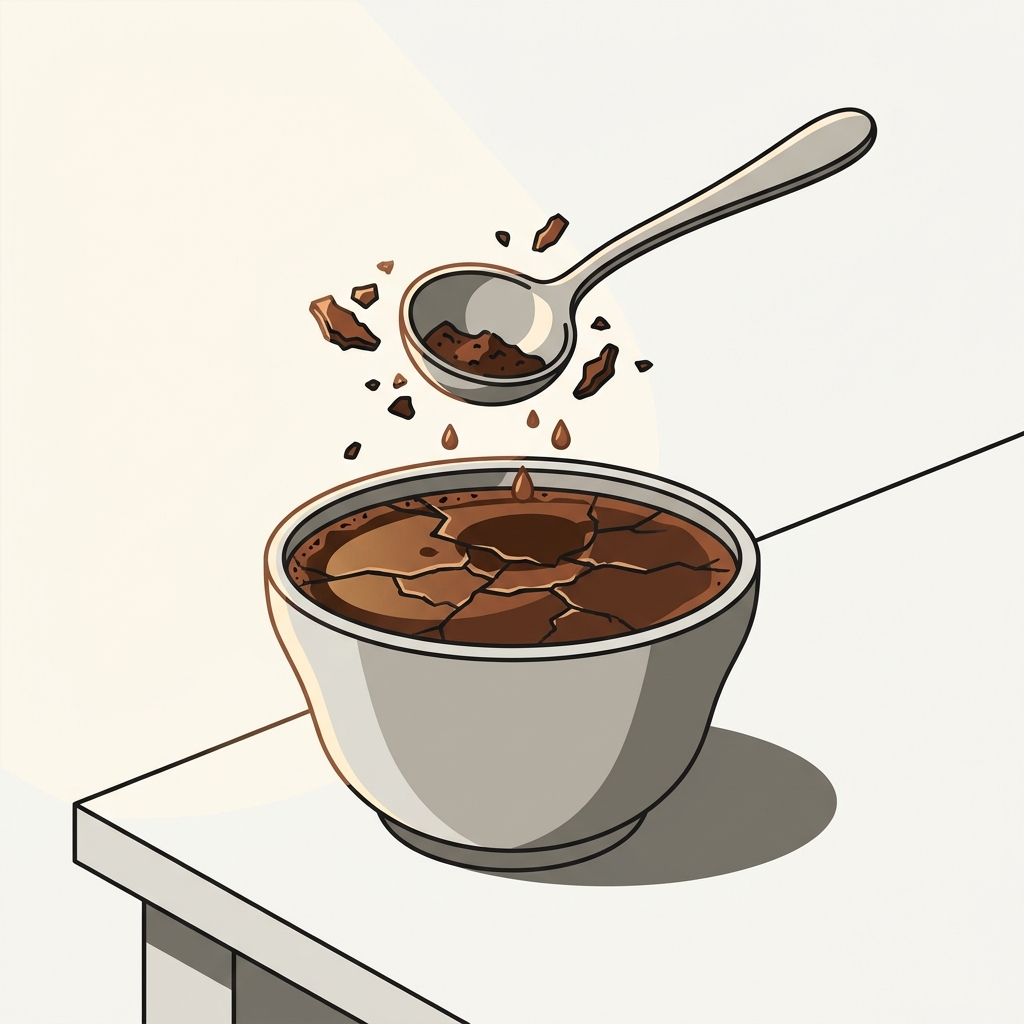
After 3-4 minutes, gently break the crust with your spoon by sweeping across the surface a few times while inhaling the released aromatics. Then use two spoons to skim off the remaining foam so the surface looks like a normal cup of coffee (https://www.peets.com/blogs/peets/how-to-do-a-coffee-cupping-at-home; https://methodicalcoffee.com/blogs/coffee-culture/coffee-cupping-a-step-by-step-guide?srsltid=AYCX9vL4Se3YZ4O6q1WTTnYHjaF7YL7RqLT23-Hy4Vrd5pSIKtlxAMCb).
5) Taste, compare, and retaste as it cools
Dip just under the surface and slurp forcefully to spread coffee across your palate. Rinse the spoon between cups. Taste each coffee at least twice as it cools, noting changes in acidity, body, sweetness, balance, and aftertaste (https://www.peets.com/blogs/peets/how-to-do-a-coffee-cupping-at-home; https://methodicalcoffee.com/blogs/coffee-culture/coffee-cupping-a-step-by-step-guide?srsltid=AYCX9vL4Se3YZ4O6q1WTTnYHjaF7YL7RqLT23-Hy4Vrd5pSIKtlxAMCb).
Control the variables for fair comparisons
- Keep the ratio and water level identical cup to cup (1:18 is a solid baseline) so strength doesn’t skew perceptions (https://methodicalcoffee.com/blogs/coffee-culture/coffee-cupping-a-step-by-step-guide?srsltid=AYCX9vL4Se3YZ4O6q1WTTnYHjaF7YL7RqLT23-Hy4Vrd5pSIKtlxAMCb).
- Use the same vessel shape and size for every sample; 7-10 oz cups make skimming and tasting easy (https://pullandpourcoffee.com/getting-started-with-cupping-coffee-at-home/).
- Water quality matters. If your tap is very hard or heavily chlorinated, consider filtered water. Learn more about ideal water hardness here: /articles/coffee-water-hardness-brewing/.
Common mistakes and easy fixes
- Uneven cup sizes or doses: match cup volume and weigh each dose so differences reflect the coffee, not the vessel (https://pullandpourcoffee.com/getting-started-with-cupping-coffee-at-home/).
- Breaking too early or stirring aggressively: wait the full 3-4 minutes, then break gently to assess aroma without disturbing the settled grounds (https://www.peets.com/blogs/peets/how-to-do-a-coffee-cupping-at-home).
- Skipping the skim: remove the foam so grittiness and trapped aromatics don’t mask flavor (https://www.peets.com/blogs/peets/how-to-do-a-coffee-cupping-at-home).
- Tasting only once: flavors often show best as coffee cools; retaste and update your notes (https://methodicalcoffee.com/blogs/coffee-culture/coffee-cupping-a-step-by-step-guide?srsltid=AYCX9vL4Se3YZ4O6q1WTTnYHjaF7YL7RqLT23-Hy4Vrd5pSIKtlxAMCb).
Run a home cupping session
Short FAQs
Do I need special cupping bowls?
No. Any identical, wide-mouthed heatproof cups work. Standard bowls or mugs are fine for home sessions (https://methodicalcoffee.com/blogs/coffee-culture/coffee-cupping-a-step-by-step-guide?srsltid=AYCX9vL4Se3YZ4O6q1WTTnYHjaF7YL7RqLT23-Hy4Vrd5pSIKtlxAMCb; https://pullandpourcoffee.com/getting-started-with-cupping-coffee-at-home/).
What grind size should I use?
Use a consistent medium grind (around table-salt texture) so extraction is comparable across cups (https://methodicalcoffee.com/blogs/coffee-culture/coffee-cupping-a-step-by-step-guide?srsltid=AYCX9vL4Se3YZ4O6q1WTTnYHjaF7YL7RqLT23-Hy4Vrd5pSIKtlxAMCb).
How many coffees should I cup at once?
Start with two to three coffees so you can compare without palate fatigue (https://methodicalcoffee.com/blogs/coffee-culture/coffee-cupping-a-step-by-step-guide?srsltid=AYCX9vL4Se3YZ4O6q1WTTnYHjaF7YL7RqLT23-Hy4Vrd5pSIKtlxAMCb).

Ground & Gauge