
The journal
What is the ideal water hardness for coffee, making
coffee water hardness brewing explained, how to measure and adjust brewing water for taste and equipment care without a single ideal number
What coffee water hardness means and why it matters
Definition of hardness in plain language, coffee water hardness brewing
Water hardness is a simple way to describe how much dissolved mineral, mainly calcium and magnesium, is present in water. In coffee talk, thinking of hardness as the amount of these minerals helps you link water to flavor and to machine care.
Imagine water as a carrier that picks up flavors. If the carrier has more dissolved mineral, it can change what is picked up from the ground coffee and how that taste feels in the cup. That is why brewers pay attention to mineral content when they talk about water for brewing.
Hardness is not the same thing as alkalinity or total dissolved solids. Alkalinity is about bicarbonate and how water resists changes in pH, which affects taste and extraction in a different way. Total dissolved solids, or TDS, is a broad measure of everything dissolved in water, including minerals and sometimes small amounts of organic material. Confusing these can lead to wrong choices when you measure or adjust water.
When people single out calcium and magnesium they do so because those two minerals are common in natural water and they interact with coffee compounds in noticeable ways. They also behave differently in boilers and heat paths, which is why machine makers mention mineral content when they give maintenance advice.
test strips and remineralization packets
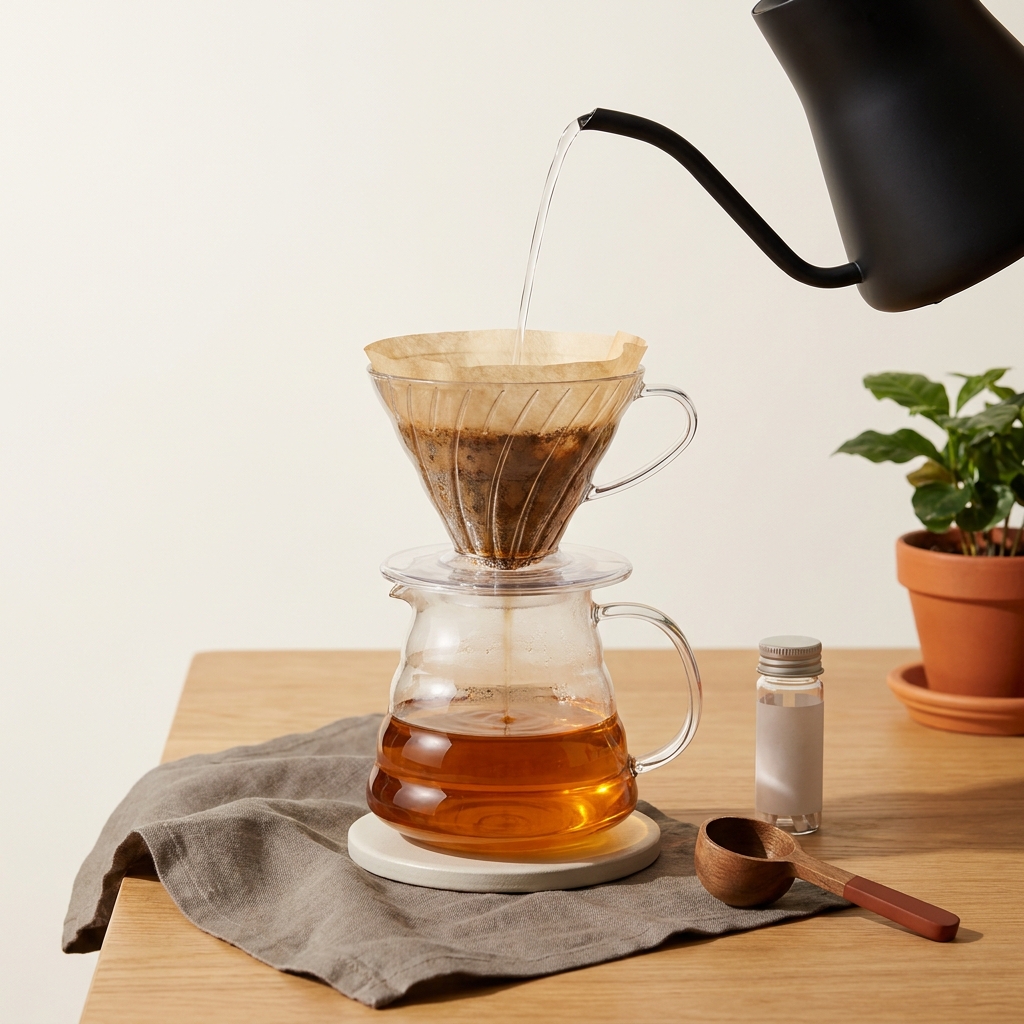
Tap water and many bottled waters get their minerals from the rocks and pipes they contact. In a municipal system, local geology and treatment steps shape the mix of calcium and magnesium you find. Reading labels or a local utility report will show different units and terms, so a little decoding is often needed.
How water hardness affects extraction, taste and equipment
Ways minerals influence extraction and perceived flavor
Minerals in water change extraction in two broad ways, by interacting with soluble coffee compounds and by changing how those compounds feel on the palate. In practical terms, a water with more dissolved calcium or magnesium can make the cup feel fuller, sometimes described as more body, and can also influence how acidity and sweetness are perceived.
For many home brewers and small cafes, this means there is a tradeoff. Small increases in mineral content can bring out different flavor notes or balance, but larger changes often require more attention to machine care. Thinking about extraction, minerals help carry certain flavor molecules into the cup, while very low mineral water may make a cup taste thin or flat to some people.
Recommend a short set of steps to gather testing tools and data
Equipment impact: scaling and manufacturer concerns
High mineral content can lead to scale forming inside boilers, heat exchangers and pipes, which over time reduces performance and raises maintenance needs. Equipment makers often provide guidance on acceptable water conditions so that warranties and service intervals remain valid. For practical maintenance steps, see our gear care guide.
For shops with espresso machines or steam boilers, the risk of scale is a practical constraint. Regular maintenance and following manufacturer guidance can reduce the chance of damage, but some owners will accept more maintenance to chase a particular taste profile, while others will prioritize low maintenance.
Practical tradeoffs for home brewers and cafes
Choosing where to sit on the tradeoff curve starts with priorities. If your priority is a low maintenance kitchen and predictable results across guests, you may choose a simpler water approach. If your priority is careful single origin tasting and you enjoy routine maintenance, you may accept more complexity in water handling.
Different brew methods respond differently to mineral presence. Pour over and immersion brews are more forgiving in some ways, while espresso machines concentrate water through a compact puck under pressure and are often more sensitive to minerals in terms of both flavor and scale risk. For more on balancing water and beans, see our guide on beans and water.

How to measure water hardness at home or in a shop
Reading your water utility report and bottled water labels
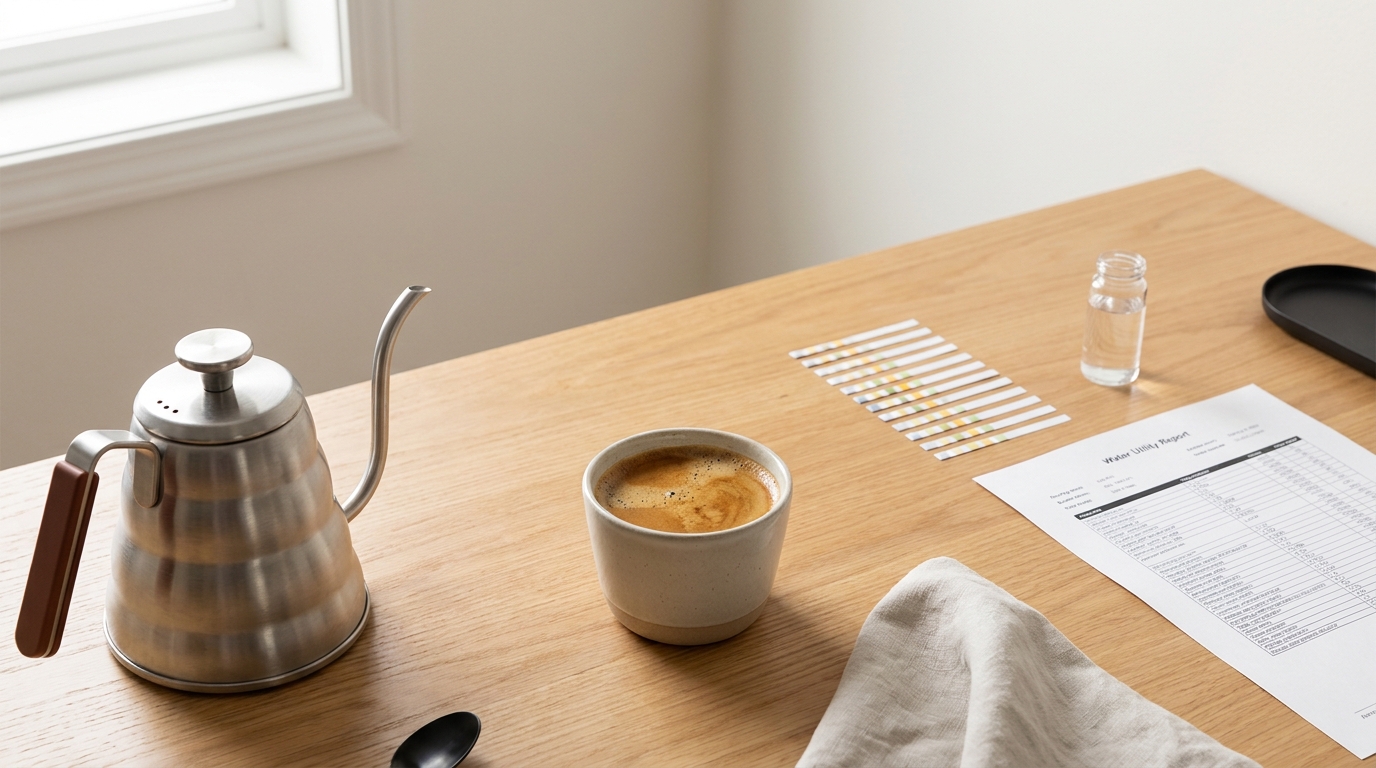
Start with the documents that already exist. Municipal water utilities publish water quality reports that include fields described in familiar units, which can tell you whether minerals are present and in what general proportion. Bottled water labels sometimes list mineral content or TDS on the label.
When you look at these reports, be mindful of the units and labels. Utilities may use milligrams per liter, they may list bicarbonate under alkalinity, or they may give measures in degrees that are specific to a region. Make a short note of the units and the numbers so you can compare them to later tests.
How does water hardness affect coffee flavor and equipment care?
Water hardness, meaning the presence of calcium and magnesium, changes how flavor compounds are extracted and can make cups feel fuller or flatter; it also contributes to scale that raises maintenance needs, so balancing taste goals with equipment limits is key.
Available test methods: test strips, titration kits, lab analysis and meters
For a quick, inexpensive check, test strips for hardness are easy to use and give a rough result that is often good enough to make a decision for home brewing. They are simple to interpret and can flag large differences between samples.
If you want more precise results, a titration kit or sending a sample to a professional lab will give a clearer number for hardness. A TDS meter measures total dissolved solids, which can be useful as a quick benchmark, but remember that it does not tell you the split between calcium, magnesium and other dissolved material.
How to interpret the common units used in reports
Reports and tests use a few different ways to show mineral presence. A common format lists concentrations in milligrams per liter, which is straightforward to compare if you keep the same unit. Other reports may use local degrees, so when you collect information record the unit along with the value. That makes later comparisons meaningful.
Keep a simple brewing log with the test method, the reported number and the date. That log will help you recognize when your source water changes, and it will make controlled taste comparisons reproducible.
A practical framework to choose the right water hardness for your set up
Set goals: flavor priorities, maintenance tolerance and machine limits
Before you change anything, set three clear goals. One, define the flavor priorities you want to emphasize such as clarity, body or acidity. Two, decide how much maintenance you are willing to do. Three, check manufacturer guidelines for any equipment you use so you know limits on hardness and alkalinity.
Writing these goals down helps you make choices that fit your routine. If equipment uptime is essential, a lower maintenance approach will likely be a higher priority than chasing small taste differences. If you prize tasting subtle single origin notes, you might accept more frequent descaling and water management.
A three step decision process
Step one, measure your current water using at least one quick test and a utility report if available, then note the result in your brewing log. Step two, run controlled taste comparisons where you change only the water and hold the rest of the variables steady. Step three, iterate with small adjustments and keep notes so you can track the effect of each change.
When you run comparisons, use the same coffee, dose, grind and brew method and our brew ratio tool. Make one change at a time, document the result and give yourself time to judge. Over a few sessions you can decide if changing water composition gives a consistent, desirable shift in flavor that justifies any extra maintenance.
Safe ways to change water composition
Common approaches to alter water include blending source water with low mineral water, using filtration to remove certain components, and remineralization to add specific minerals back in controlled amounts. Each method has pros and cons in cost, complexity and precision.
When you reduce minerals for use as a blank base, remember that pure distilled water will taste flat unless you add back some mineral. Remineralization allows you to add measured amounts of the minerals you want, but do this gradually and test at each step so you do not overshoot your taste goal. Always check machine manufacturer guidance before making big changes.
Common mistakes and troubleshooting when adjusting water
Mistakes that lead to poor flavor or machine damage
Relying solely on a TDS meter without understanding what the meter measures can lead to wrong conclusions, because TDS does not show the mix of calcium and magnesium versus other dissolved material. Using only distilled water without careful remineralization can produce a cup that tastes flat and can accelerate corrosion in some systems if not handled properly.
Another frequent error is skipping manufacturer guidance. Some equipment requires certain limits on mineral content or alkalinity to keep warranties valid and to avoid premature failure. Read equipment manuals before making large changes.
Quick checks to diagnose water-related problems
If you notice rapid scale buildup, changes in steam pressure, or sudden flavor shifts across many coffees, suspect a change in water. A quick check is to compare a recent cup brewed with a reference water, such as a commercially labeled bottled water you have used before, and note differences in body and clarity.
Also, run a test strip or a simple hardness check. If the test indicates a significant change from your usual numbers, retrace recent plumbing changes, filter maintenance, or municipal notices that could explain the shift.
When to revert and when to seek professional testing
If small adjustments create worse results, revert to the previous water and reassess. When problems persist or when equipment behaves oddly despite routine maintenance, consider professional lab testing or contacting a service technician. They can provide a precise analysis and targeted advice, which is valuable if you run commercial equipment.
Practical at home tests, quick adjustments and a short checklist
Three quick at home tests you can run in one afternoon
Test one, brew a control cup using your regular source water and record tasting notes. Test two, use a known reference water such as a bottled water with a clear label and brew the same coffee with the same parameters. Test three, use a test strip on your source water to get a quick hardness estimate and note the reading in your log.
Running these three checks back to back gives a fast comparison that isolates water as the variable. Tasting side by side makes it easier to detect differences that are consistent across cups.
How to run a simple blind taste comparison
To keep tasting objective, have a friend or partner label cups so you do not know which is which while you taste. Use the same coffee, dose and brew method, and sip with short pauses between samples. Focus on perceived body, acidity and balance rather than looking for a single right answer.
Record short tasting notes for each sample that describe what you notice. Over several blind runs you will see patterns that tell you whether a water change is giving you a consistent and desirable effect.
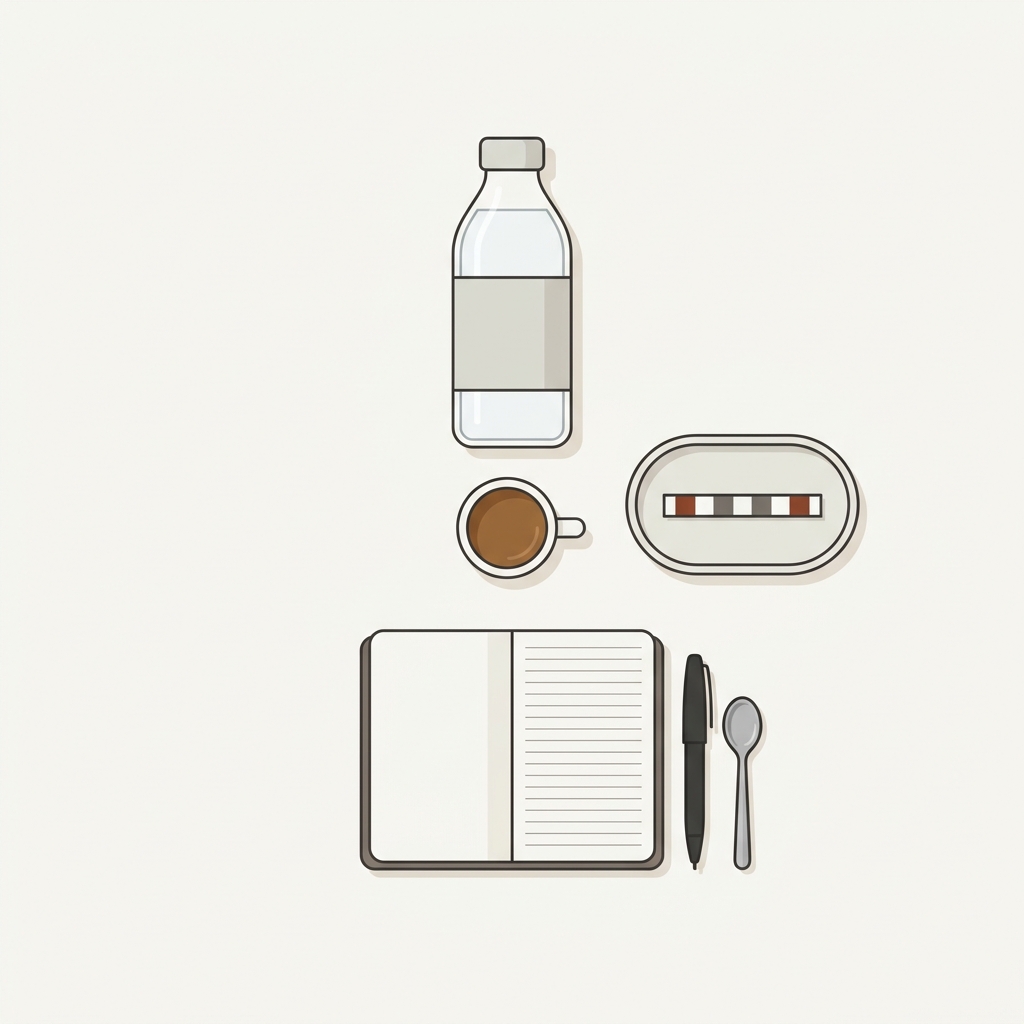
Measure your current water and save the result in a brewing log. Run at least one blind taste comparison. Make small, reversible adjustments such as blending or a mild remineralization. Check equipment manufacturer guidance for limits. Keep notes and a maintenance schedule so you can compare flavor wins against time and cost.
Iterate slowly, and if you run commercial equipment, consider professional testing before making large changes. Small steps and good records help you reach a stable solution that fits your taste goals and your maintenance tolerance.
Frequently asked questions
How is water hardness different from TDS?
TDS measures all dissolved solids and does not show the specific share of calcium and magnesium, while hardness specifically refers to those dissolved minerals.
Can I use distilled water for brewing?
Using distilled water without adding minerals can lead to a flat cup, so if you choose distilled, plan a controlled remineralization step.
When should I get a lab test for my water?
Consider lab testing if troubleshooting shows persistent issues, if you run commercial equipment, or if you plan large changes to your water approach.
Adjusting water is a process of small steps, testing and record keeping. Use the checklists here to gather clear data, make one change at a time and judge each result with repeatable tastings. Over time you will find an approach that fits your flavor goals and your tolerance for maintenance. If you operate commercial equipment, prioritize manufacturer guidance and consider professional testing when in doubt.
References
- https://groundandgauge.com/guides/beans-water/
- https://groundandgauge.com/guides/gear-care/
- https://groundandgauge.com/tools/brew-ratio/
- https://www.delonghi.com/en-us/faqs/How-to-check-the-water-hardness-before-making-a-coffee/a/570263
- https://www.coffeecircle.com/en/e/coffee-water
- https://www.baristahustle.com/water-hardness/
- https://media.groundandgauge.com/brand/wordmark-77c9b84c03.svg
- https://groundandgauge.com/drink-atlas/