
The journal
How do I calibrate my manual coffee grinder?
Set your grinder’s mechanical zero for your specific model, then step out to a brew setting and verify with small test brews.
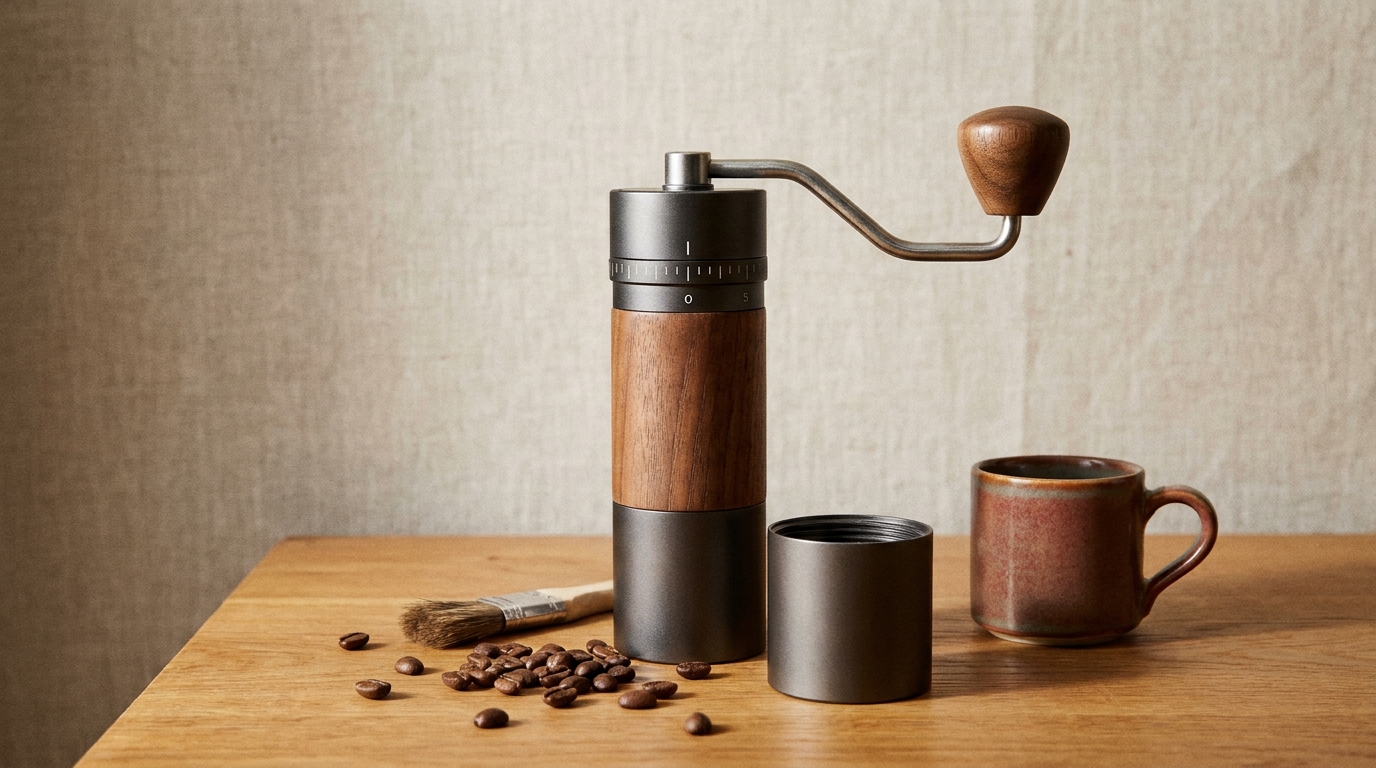
Calibrate a manual grinder by finding and setting its mechanical zero (the point the maker defines as burrs just touching) using your model’s procedure, then step out to a suitable brew setting and verify with small, measured test brews. Recalibrate after disassembly or deep cleaning.
What calibration means on a manual grinder
Calibration establishes a reliable reference point so the numbers or clicks on your grinder mean the same thing every time. Makers describe this as locating zero or the starting point where the burrs meet. On 1Zpresso models, zero is the point where the handle stops spinning freely as you tighten; they caution not to overtighten to avoid the mechanism getting stuck 1Zpresso calibration tutorial. Handground provides an advanced process to verify and, if needed, shift the baseline using calibration washers on their design Handground cleaning and calibration guide.
Set the baseline: follow your maker’s mechanism
Match the procedure to the adjustment design
Identify the exact model before moving or removing adjustment parts. Internal, top and external adjustment mechanisms do not share one reassembly sequence. The 1Zpresso calibration tutorial separates those mechanisms; use the section for your grinder rather than copying another model's click count. A printed zero and the mechanical reference are not automatically the same thing.
Handground uses a different arrangement and publishes an advanced calibration procedure involving its supplied calibration washers. Only use that procedure on a supported Handground model, following the maker's checks; washers are not a universal grinder accessory (Handground cleaning and calibration guide).
Do not force the adjustment or turn the handle against resistance. Zero is a reference, not a brewing setting. If the mechanism is stuck, stop and consult the maker instead of using more force.
Dial in from zero for your brew
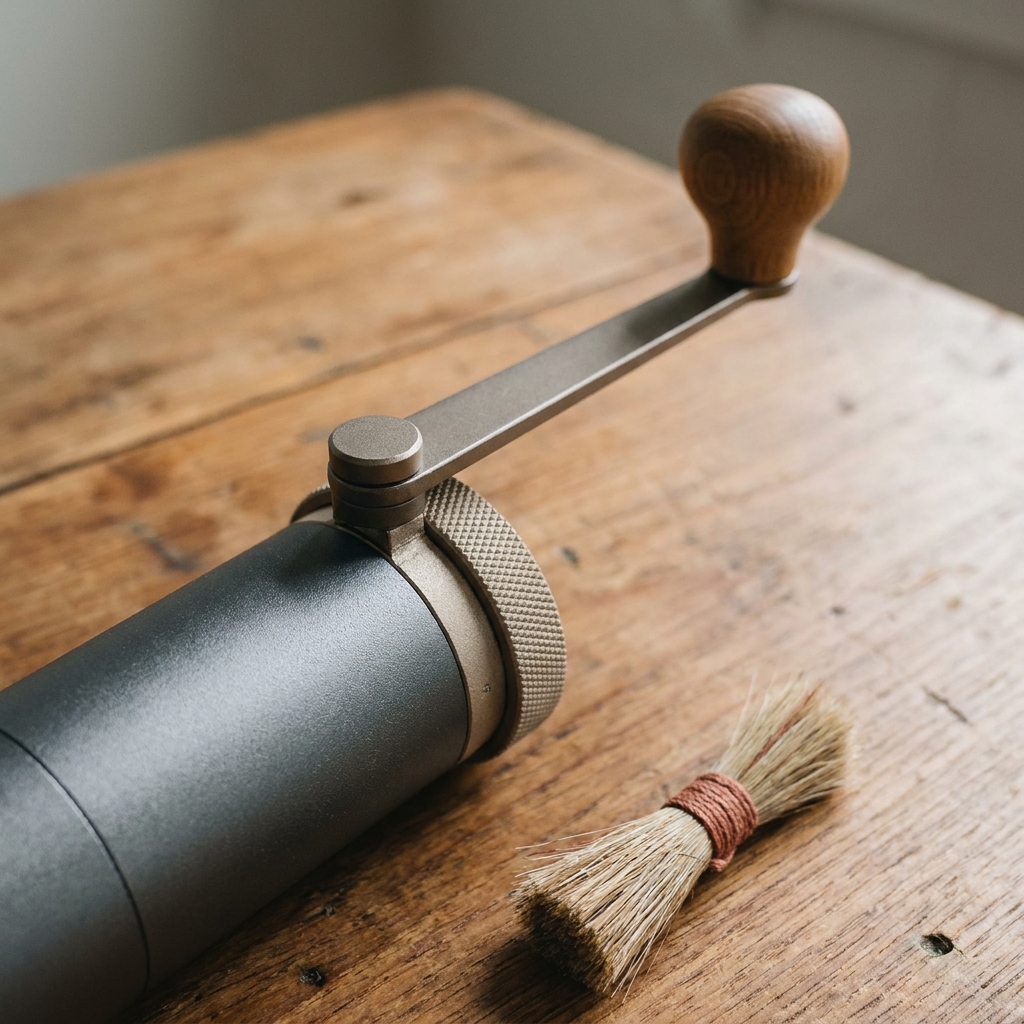
After you’ve set the maker-defined zero, back off to your brew range and confirm with a short test brew or shot. Keep the steps small and measured so you can see cause and effect:
- Weigh a precise dose and time your brew or shot. Record yield and your grinder setting.
- If extraction is too slow or tastes harsh and bitter, go a little coarser. If it’s fast, thin or sour, go a little finer.
- Change one variable at a time and keep notes for repeatability.
Using a good scale makes this faster and more consistent; see our explainer on whether a scale helps for espresso Do I need a coffee scale for espresso?. If static clumping gets in the way of even feeding, read our quick primer on RDT to manage static without shifting your calibration baseline What is RDT in coffee grinding?.
When to recalibrate
- After disassembly or deep cleaning: re-establish zero because reassembly can shift burr alignment or the reference point. Handground’s guide pairs cleaning and advanced calibration steps for this case Handground cleaning and calibration guide.
- If your starting point has drifted: 1Zpresso notes the zero is the point where the handle stops free-spinning; if that feels different than before, re-find zero and re-index if your model allows aligning to “0” 1Zpresso calibration tutorial.
- After replacing parts that affect the adjustment stack (e.g., burr, carrier, hopper on applicable models): verify baseline again per the maker’s steps 1Zpresso calibration tutorial Handground cleaning and calibration guide.
Keep a useful calibration record
After following the correct manual, write down the model, how its reference was established, your brew method and the setting counted from that reference. Add the coffee, dry dose, beverage mass and a short taste note. This is your own working record, not a manufacturer's universal recipe.
For example, if you remove the burr for cleaning, compare the reassembled grinder's reference with your previous note before making the next brew. If the dial has moved, establish the maker-defined reference again and then dial in by taste. Do not assume that the same printed number on two different grinders produces the same grind.
Manual grinder calibration quick checklist
FAQ
Should I ever grind with the burrs touching?
No. Zero is a reference to align your settings. Grinding at zero risks damage and jamming; 1Zpresso specifically advises avoiding overtightening at the starting point 1Zpresso calibration tutorial.
Do I need to use calibration washers?
Only if your manufacturer supports and supplies them. Handground’s advanced process uses thin washers to re-index their dial when needed; follow their guide for that model Handground cleaning and calibration guide.

Related guides
Optional equipment for this guide
Keep the grinder and machine you already use. A suitable brewing scale can make the measurements in this guide easier to repeat.
As an Amazon Associate I earn from qualifying purchases. These are researched options, not hands-on test results. Check the exact size or model, current price and availability on Amazon.
| Product option | Fit and limits to check | Retailer |
|---|---|---|
| Product imageTimemore Black Mirror Basic 2.0 scale | A scale-and-timer option for weighing repeatable test brews after the maker-defined grinder zero is set. It does not calibrate the burrs or repair a grinder. | View on Amazon |