
The journal
Do I need a coffee scale for espresso? Practical guide for consistent shots
coffee scale accuracy espresso explained: practical steps to choose, calibrate and use a scale for repeatable espresso shots.
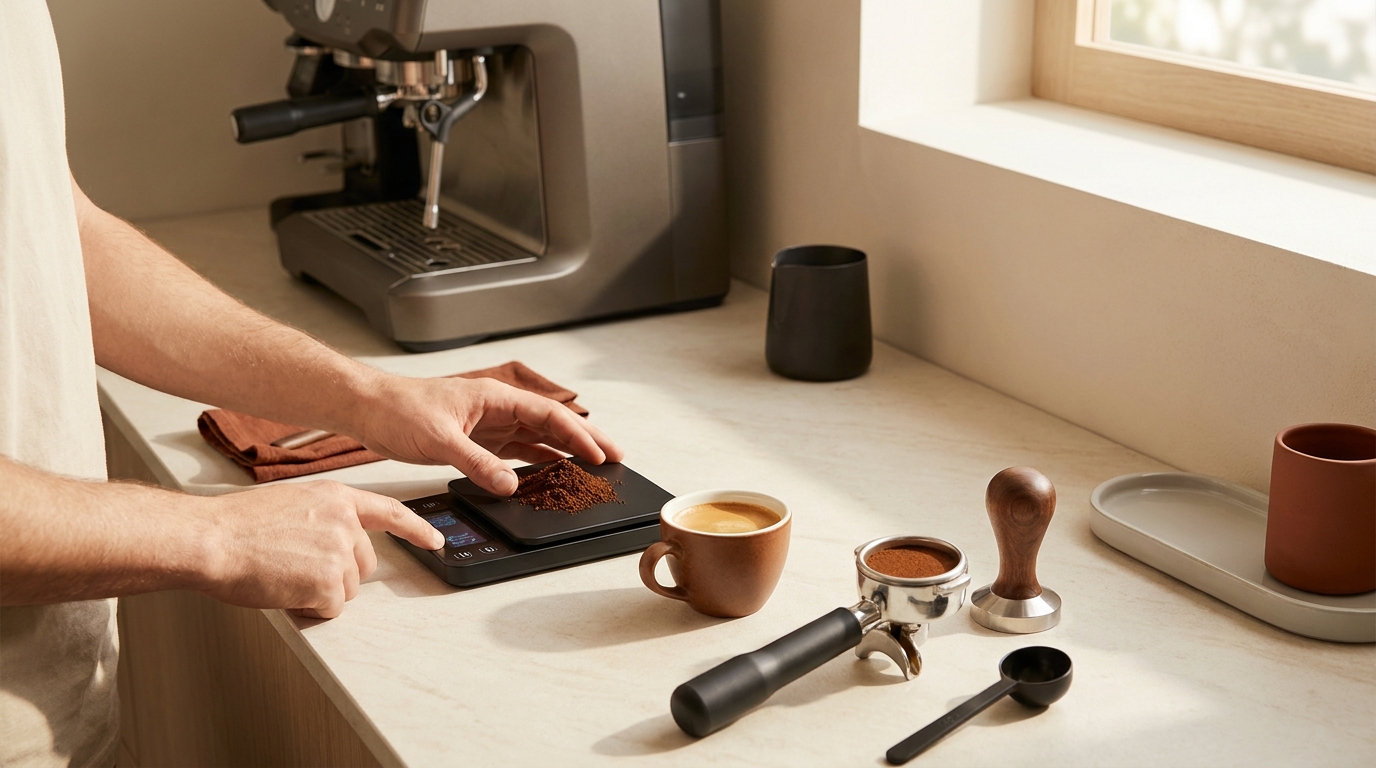
Short answer: does coffee scale accuracy matter for espresso?
Short answer: yes, a scale matters if you want repeatable espresso, and the level of importance depends on how precise you want to be. For many home baristas, a compact, consistent approach to weighing dose and yield is the fastest way to reduce day-to-day variation in shot balance.
For others who already control grind, distribution and tamp consistently, a scale is still helpful but less of a make-or-break tool. The most useful role of a scale is making dose and yield explicit, so you can compare one shot to another and adjust with intention. The term coffee scale accuracy espresso is useful here as a practical test: it points to how closely your scale reads the small masses and how that clarity affects the espresso you taste.
Small items to check and steady espresso weighing
Who benefits most from a scale? People chasing small changes in sweetness, acidity or body benefit first. When you plan to tune dose by half-gram steps, or to track yield-to-dose ratios precisely, you rely on the scale more than on feel alone. Cafes and precise home setups find a scale indispensable for consistent menus and recipes.
Who can get by without one? If you pull shots by sight and feel, use a grinder with near-perfect repeatability, and accept a bit more variation, you can make good espresso without obsessive weighing. But without a scale you lose a simple, objective record of what you actually did, which makes troubleshooting slower and less reliable.
What a coffee scale measures and why accuracy matters for espresso
A coffee scale measures mass. In espresso work the two main numbers you track are dose and yield. Dose is how much ground coffee you put into the portafilter. Yield is how much liquid ends up in the cup. Tracking both lets you calculate the extraction ratio that connects grind, dose, time and yield to taste.
Dose, yield and extraction control
Dose is usually recorded in grams. A change of a few grams shifts brew ratio and shot strength. Yield, also in grams, is easier to measure with a scale than by eye; small differences in yield change concentration and perceived balance. The extraction ratio is the yield divided by the dose, and it is a quick way to see if a shot is extracting more or less compared with a previous attempt.
Accuracy and resolution are two related but different properties of a scale. Accuracy means how close the reported number is to the true mass. Resolution means the smallest step the display shows, for example 0.1 g. For espresso work, resolution of 0.1 g is common and useful because many dose adjustments are in half-gram or one-gram steps. Accuracy at that resolution matters because if the scale is off by a gram, the resolution becomes meaningless. (See a hands-on review for accuracy tests: seriouseats.com)
How small mass differences change perceived taste
Practical examples help. If you change dose from 18 g to 19 g while keeping yield constant, the ratio shifts and the shot will taste denser and potentially less extracted per unit mass. The same is true if you alter yield by a few grams. A one-gram change in dose or yield on a single dose around 18 g is a tangible change in mouthfeel and strength for many drinkers. That is why a reliable reading within a gram or better matters for repeatability.
Scale calibration and a stable setup let you trust that those gram differences reflect reality, not device error. If you detect consistent differences between what you expect and what your cup contains, using a scale with known behavior helps you decide whether to change grind, time or recipe parameters.
One more practical note: resolution helps you see small changes, while accuracy ensures that the values you log match what was actually weighed. For routine work, a scale with 0.1 g resolution and stable accuracy after warm-up is a reasonable target for most home and small-batch commercial use.
Choosing a scale for espresso: features that matter
Choosing the right scale is about matching accuracy, resolution and features to how you plan to work. Below are the critical features to consider and why they matter for everyday shots. (See our espresso guide)
Accuracy, resolution and capacity
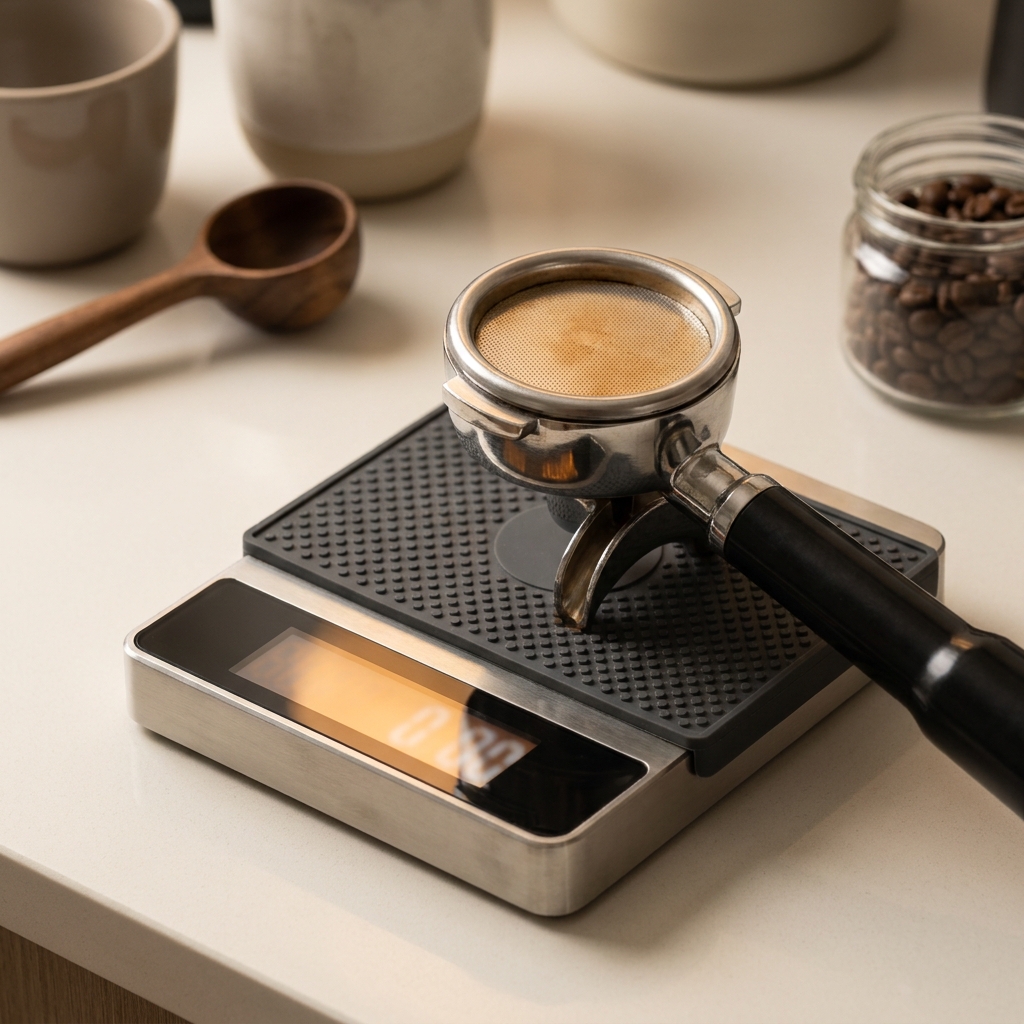
Target accuracy and resolution. For espresso dosing, a scale that shows 0.1 g steps is a common standard. Accuracy within 0.5 g across the typical dose range gives useful repeatability. Capacity is usually 2000 g or so on many compact scales, which is more than enough for single-portafilter work. If you plan to weigh cups or multiple vessels, higher capacity matters.
Resolution matters most when you routinely make small, precise adjustments. If you only change dose by 1 to 2 g, a 0.1 g display makes trends visible. If you never adjust by less than 1 g, 0.5 g resolution or coarse scales can still be serviceable, but you lose fine-grain feedback.
Practical features: tare, platform size, stability and speed
Tare is essential. You will frequently zero the scale with a dosing cup, portafilter or shot glass in place. A clear, responsive tare button speeds the workflow. Platform size matters if you want the scale to hold a portafilter and a tamp, or to sit under a grouphead for on-the-fly yield reading. Choose a platform large enough for your workflow without overhanging edges.
Update rate, sometimes called response or refresh rate, affects how readable the scale is during a flowing shot. A faster update rate means less lag when the shot is running and when you are tracking yield in real time. Stability and a non-slip base reduce false readings due to vibration or movement, especially on a counter near a noisy machine.
Power, build quality and cleaning. Consider whether the scale runs on batteries, USB power, or both. A solid stainless top resists stains and is easier to clean. Look for simple bezels and buttons that tolerate quick rinses or wiping. Avoid complicated seams that trap grounds and liquid.
How to use and calibrate a coffee scale for espresso: a step-by-step framework
Calibration and zeroing are straightforward but important. Start with warm-up: turn the scale on and let it settle for a minute on a stable surface. Use the tare function to zero the scale with your dosing cup or portafilter in place, then add grounds to reach your target dose.
Calibration routine. If your scale supports user calibration with a known weight, use a calibration weight in the recommended mass class and follow the device instructions. If your scale does not support user calibration, check its reading against a known kitchen scale or a small calibration weight and note any consistent offset to correct mentally or in your log. Re-check calibration if you move the scale, change batteries, or notice odd readings.
How often to check calibration. For most home use, check calibration monthly or after any event that might affect accuracy, such as a spill, power interruption, or a fall. In higher-volume settings, check weekly or at the start of each day to maintain consistent readings.
Routine workflow: dose, distribute, brew and measure
Numbered workflow you can follow every time:

- Warm the scale and machine. Turn both on and let them stabilize for at least a minute.
- Place your portafilter or dosing cup on the scale and press tare.
- Scoop or grind to target dose while watching the scale, stopping when you hit the target grams.
- Distribute and tamp as your usual practice, then lock in the portafilter for brewing.
- Place a cup on the scale or use the scale under the cup to measure yield, then press tare if needed and start the shot while noting time and yield.
Tips for stable placement and avoiding vibration. Place the scale on a non-slip mat on a solid, level counter. Keep it away from the machine vibration path when possible. If you must hold a portafilter while weighing, brace the handle lightly so the scale reads only the mass of coffee and equipment.
Reading flow during a shot. A common technique is to watch the scale display as the shot runs and stop the shot when yield hits your target. If your scale has a fast update rate, it makes this easier; otherwise, watch for steady values and pause briefly to note the number if it fluctuates slightly.
Common mistakes, troubleshooting and when a scale is not the fix
Scales are powerful, but they can create false confidence if used without checking other variables. Here are common errors and a logical sequence to isolate a problem.
False confidence from a scale
Many users assume a correct number equals a correct shot. A scale measures mass, not grind distribution, tamp quality, or machine pressure. If taste is off despite correct dose and yield, inspect distribution, tamping, grind setting and machine function before retrying with different weights.
Common user errors. Improper calibration, uneven dosing, placing the scale on an unstable or tilted surface, and letting the portafilter press against a nearby object can all change readings. Also check auto-off settings which may interrupt long workflows, and make sure battery level is adequate for consistent readings.
What to check before blaming the scale
Troubleshooting sequence to isolate scale issues from other variables:
- Check surface and stability. Move the scale to a known flat surface and repeat the weigh.
- Confirm tare behavior. Place the same empty item on the scale and tare again; weigh a known mass like a coin stack or water portion.
- Repeatability test. Weigh the same dose several times in a row without moving the scale and note variation. Small jitter is normal; large swings indicate an issue.
- Cross-check with another scale. If available, compare readings. If not, use consistent procedure and watch for consistent offsets.
What a scale cannot fix. A scale will not correct uneven grind distribution, poor tamping technique, inconsistent water temperature, or machine pressure instability. If shots are uneven or taste inconsistent after fixing weight issues, inspect these other components and consider logging machine behavior as well as mass.
Quick checks you can perform. If a shot tastes thin while numbers look normal, try a coarser grind to test if extraction speed is the cause. If a shot tastes overly bitter, a finer grind or lower yield can be tested. Use the scale to record how each change affects yield and tasting notes so you can revert to the best setting.
Practical routines and example shot setups, plus next steps
Below are three example recipes that demonstrate different dose-yield approaches. Each example includes what to log and what to taste for. Use these as starting points to build confidence with measurement.
Example 1: Classic balanced shot
Recipe: Dose 18 g, Yield 36 g, Brew time 25 to 30 seconds. Notes to log: dose, yield, time, grind setting, tasting notes. What to expect: a balanced mouthfeel with moderate sweetness and clear definition of acidity and body. Adjust by 0.5 g dose or a 1 g yield change if balance shifts.
Do I need a coffee scale for espresso?
If you want consistent, repeatable espresso and clear feedback for tuning shots, a scale is necessary; if you accept more variability for casual use, it is helpful but optional.
Example 2: Higher concentration, sweeter body
Recipe: Dose 20 g, Yield 38 g, Brew time 25 to 30 seconds. Notes to log: dose, yield, time, grind setting, tasting notes. What to expect: fuller body and sweeter impression, possibly less perceived acidity. If it tastes muddy, reduce dose by 1 g or increase yield slightly to open the cup.
Example 3: Lively, lower dose for clarity
Recipe: Dose 16 g, Yield 30 g, Brew time 20 to 28 seconds. Notes to log: dose, yield, time, grind setting, tasting notes. What to expect: more clarity and brightness, lighter body. If it feels underdeveloped, fine-tune grind or increase dose by 0.5 g and observe the effect on extraction.
How to track improvements and iterate
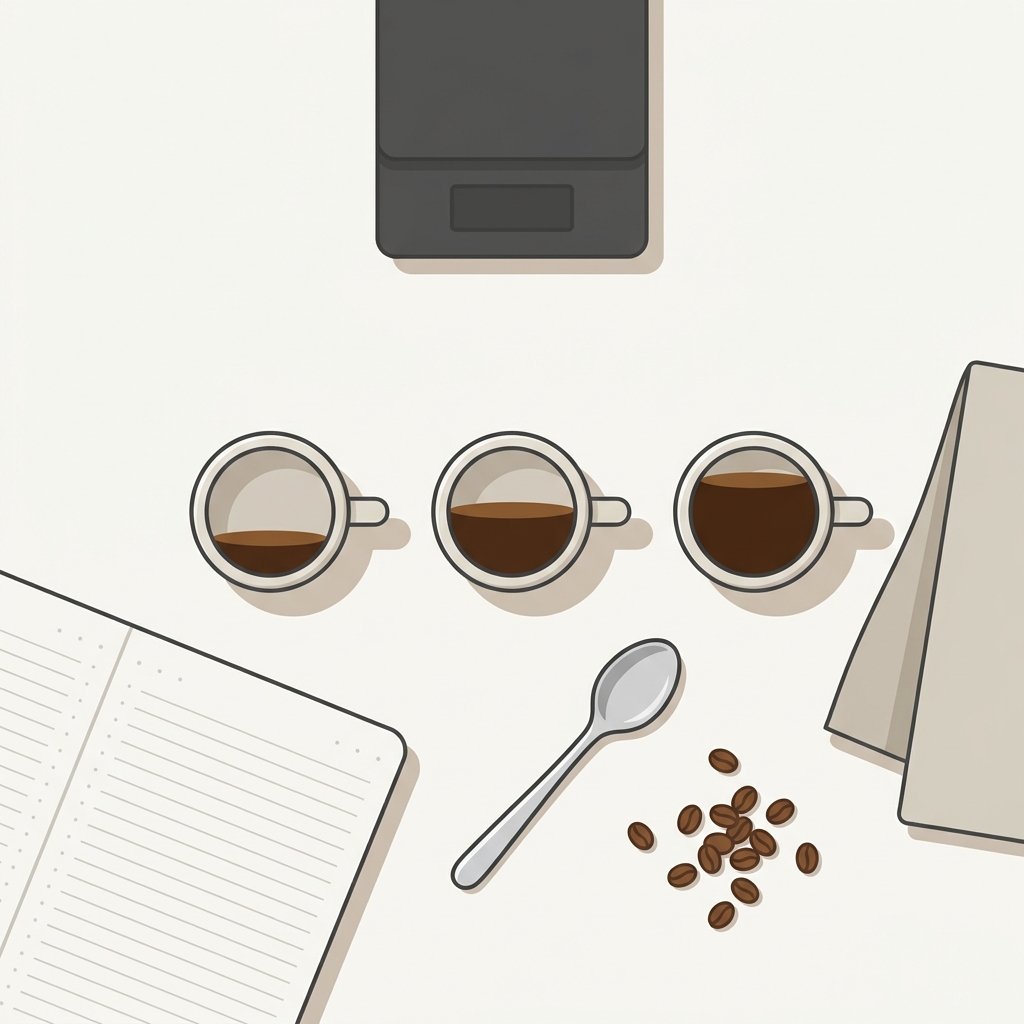
Simple logging plan: create a short table with columns for date, grinder setting, dose, yield, brew time, and two tasting notes fields (initial impression, after cooling). Record three to five shots per session and compare which changes produce desirable shifts in taste. After a few sessions you will see patterns and learn which adjustments create the changes you want.
Next steps for consistency. Once you find a preferred recipe, practice it for several days without changing variables other than grind to lock in repeatability. Then try one controlled experiment per session: change only one variable, log results, and taste. Over time your log becomes a reference library you can consult when beans or equipment change.
Closing thoughts on when a scale is essential and when it is optional
A scale is essential for anyone who wants to record, compare and reproduce espresso shots reliably. It turns subjective impressions into measurable experiments and shortens the path from problem to solution. For casual drinkers who accept variation, a scale is useful but not mandatory.
Keep expectations realistic: a scale improves what you can measure, but it does not replace solid technique. Combine weighing with consistent distribution, tamping and machine maintenance to see the most benefit. Use your log to learn, and let small, deliberate changes guide improvements in shot quality.
Frequently asked questions
Do I need a high-precision scale for home espresso?
A 0.1 g resolution scale with stable readings is usually sufficient for home espresso. Higher precision helps only if you plan to routinely change dose by fractions of a gram.
How often should I calibrate my coffee scale?
Check calibration monthly for home use or after any movement, spill, power change, or if you notice inconsistent readings. In busy settings check more often.
Can a scale fix bad espresso taste?
No. A scale helps identify and control dose and yield, but it cannot fix grind distribution, tamping, machine pressure or temperature issues.
A scale is a simple instrument that yields clear benefits when combined with consistent technique. Use the steps and recipes here to build repeatable habits, keep a short log, and change one variable at a time. Over weeks you will see how small, measured changes produce reliable improvements in cup quality.
References
- https://groundandgauge.com/tools/brew-ratio/
- https://groundandgauge.com/guides/espresso/
- https://groundandgauge.com/journal/espresso-ratios/
- https://www.seriouseats.com/best-coffee-scales-6361787
- https://mantabrew.com/blogs/coffee-scale/how-to-calibrate-your-coffee-scale-for-accurate-measurements?srsltid=AU7gw4UmMPS4y8TkVw32huWpHqGsB_4c8zCZIwXZ4zjbY66CeWpmTqPq
- https://onlineweighingscale.com/blogs/scale-calibration-tips-and-tricks/coffee-espresso-scale-calibration-golden-cup-standard?srsltid=AU7gw4XkcrO6U_ZqXgd4GjH65Gp_T7QfYXFmbKS4hOIBDd_J_lj4rjfS
Product options for this topic
As an Amazon Associate I earn from qualifying purchases. These are researched options, not hands-on test results. Check the exact size or model, current price and availability on Amazon.
| Product option | Fit and limits to check | Retailer |
|---|---|---|
| Timemore Black Mirror Basic 2.0 scale | A scale-and-timer option for repeatable brewing. Check that its platform fits your espresso machine drip tray or brewing vessel. | View on Amazon |