
The journal
How to tamp espresso grounds with the right headspace
A clear, step-by-step way to tamp for espresso and check headspace so water flows evenly. Practical dosing, pressure and quick fixes for soggy pucks.
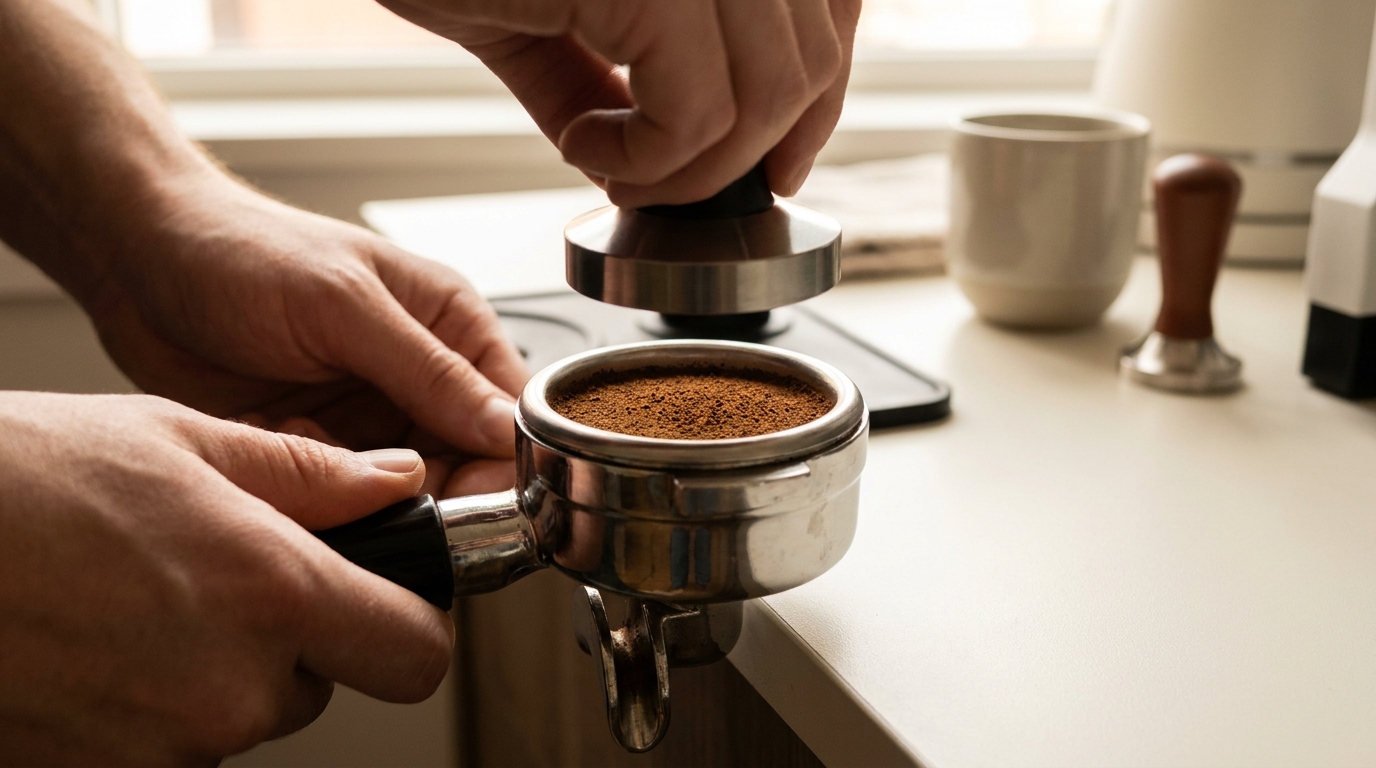
Distribute the grounds evenly, support the portafilter and tamp straight down so the coffee bed is level and compact. Use the dose and tamping instructions for your particular basket and machine. Repeatable preparation matters more than chasing a universal force number or a dry-looking spent puck.
Why tamping and headspace matter
Tamping flattens and compacts the coffee bed so water meets even resistance, which helps avoid channeling and uneven extraction (Tom’s Guide: 5 espresso terms). Headspace is the small gap above the tamped puck when the portafilter is locked in; a spent puck’s appearance alone does not determine whether the espresso tastes good (Tom’s Guide: Wet puck). Also note that some machines with two-way valves may leave more water in the puck than three-way-valve designs (Tom’s Guide: Wet puck).
Step-by-step tamping with a headspace check
1) Dose by weight for your basket
- Start with the dose specified for your actual basket and machine, and adjust only within their permitted range (Breville: How to use a coffee grinder).
- Using a scale keeps dosing consistent. If you need help choosing, see Do I need a coffee scale for espresso?
2) Distribute and level the bed
- Break up clumps and level the grounds before tamping to minimize weak spots that cause channeling. A simple tap and sweep works; a WDT tool can help with stubborn clumps. Learn more in What a WDT tool does for espresso.
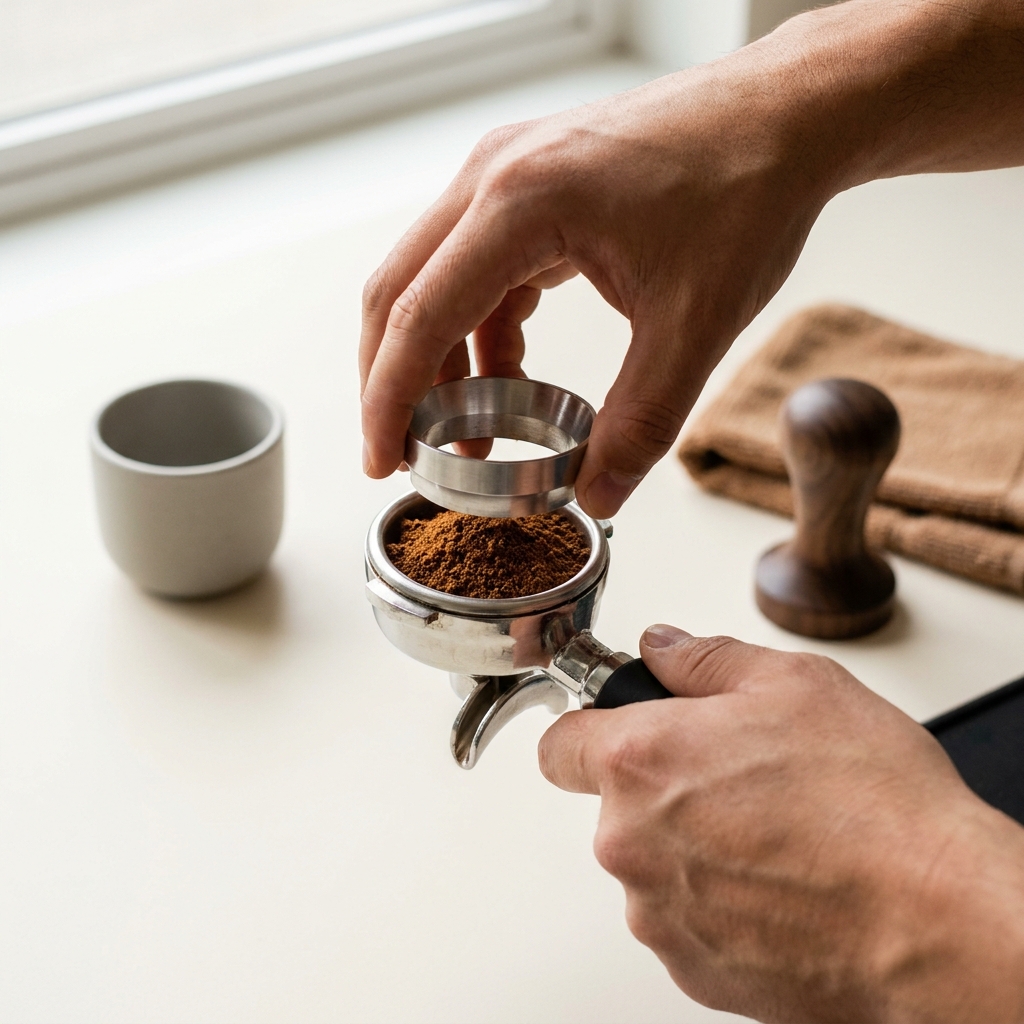
3) Tamp level with firm, steady pressure
- Hold the tamper flat and press straight down with a firm, steady push with controlled, repeatable pressure, keeping the surface level to reduce channeling (Tom’s Guide: 5 espresso terms).
- A light polish twist is optional, but the key is a single, even, level tamp.
4) Clean the rim and prep the group
- Wipe stray grounds from the basket rim so the gasket seals well, and flush the group head briefly to clear residual coffee before locking in (Breville: Clean an espresso machine).
5) Pull the shot and read the puck
- Taste the espresso and compare the dose, distribution and grind with the recipe for your machine. Do not increase the dose or change the grind solely to make a spent puck look dry.
- Remember that some machines leave wetter pucks by design (valve type) (Tom’s Guide: Wet puck).
How hard should you tamp?
Use the pressure or method in your equipment’s instructions; there is no single force target established here for every tamper and basket (Tom’s Guide: 5 espresso terms). Keep your wrist and forearm aligned so the tamper base stays horizontal. If shots run too fast or too slow, change grind and dose first; tamping should be repeatable once you have a level, compact bed.
Quick fixes for headspace-related issues
- Wet puck: check your machine’s design and instructions before treating appearance as a fault. Base a recipe change on the drink and the permitted basket dose.
- Channeling or spritzing: Improve distribution, then tamp level with a firm press (Tom’s Guide: 5 espresso terms).
- Messy rim or leaks: Wipe the basket rim and briefly flush the group before locking in (Breville: Clean an espresso machine).
Put this into practice
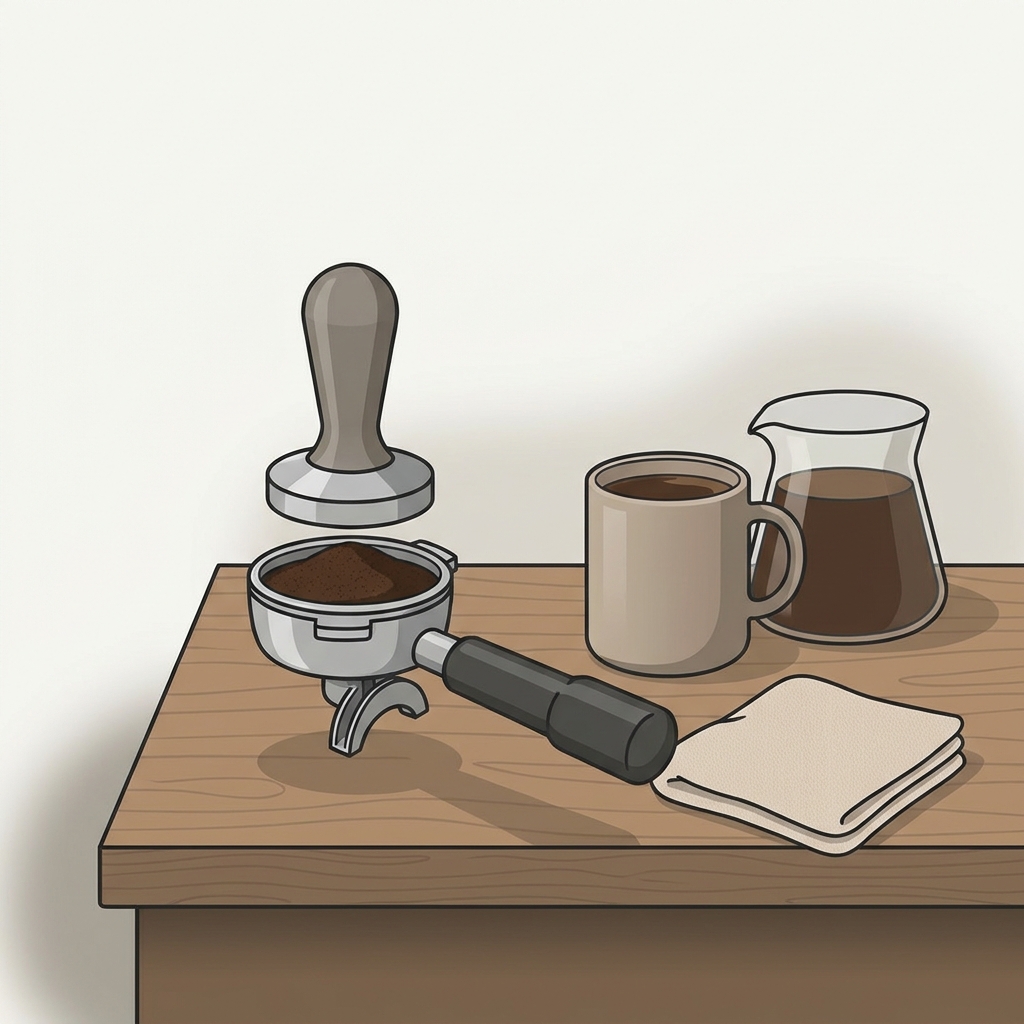
Record the basket’s intended dose range and the measured dose before changing your tamp. Check the resulting headspace with the maker’s method rather than adding more pressure to compensate for a mismatched basket or dose.
Tamp-and-headspace quick check

FAQ
Does a wetter puck always mean a bad shot?
No. Taste your espresso first. Some machines leave wetter pucks by design, so do not diagnose the grind or dose from water on the puck alone (Tom’s Guide: Wet puck).
Optional equipment for this guide
A scale can help log dose and yield consistently if it fits the machine’s tray and your workflow. It does not diagnose puck wetness or fix unsuitable basket headspace.
As an Amazon Associate I earn from qualifying purchases. These are researched options, not hands-on test results. Check the exact size or model, current price and availability on Amazon.
| Product option | Fit and limits to check | Retailer |
|---|---|---|
| Product imageTimemore Black Mirror Basic 2.0 scale | A scale-and-timer option for repeatable brewing. Check that its platform fits your espresso machine drip tray or brewing vessel. | View on Amazon |