
The journal
How can I deep clean my moka pot? Practical, safe steps for home brewers
Learn how to clean a moka pot safely, with daily rinsing, citric acid descaling and parts checks to protect taste and safety.
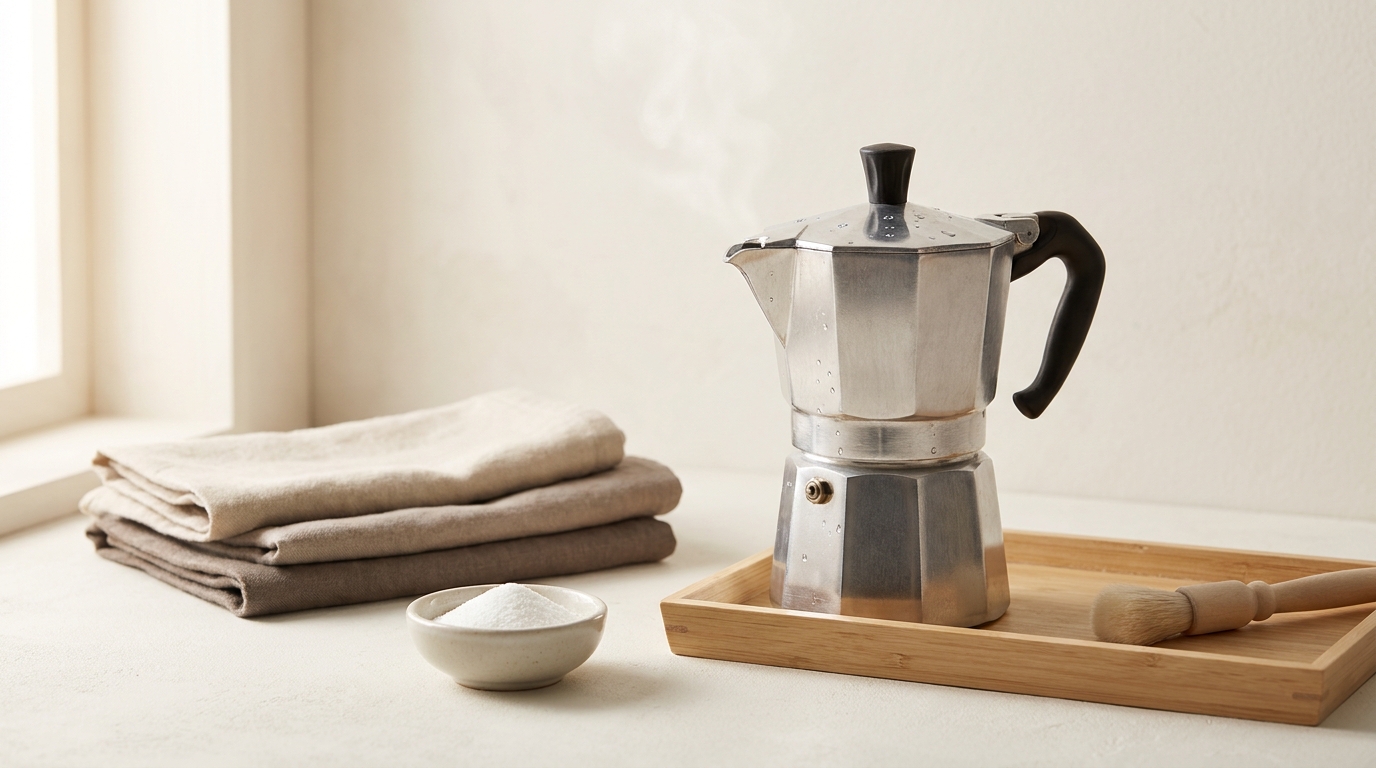
Quick answer and why deep cleaning matters
What this guide covers
Short answer, step by step: after each brew let the pot cool, disassemble the two chambers and the funnel, rinse all parts with water only, and avoid detergents, abrasive pads and dishwashers on aluminum moka pots, per manufacturer guidance.
What is the safest way to deep clean and descale an aluminium moka pot?
Use the cleaning method specified for your pot model. Avoid improvised acid concentrations and soaking times, and do not immerse the gasket or valve in descaler. If the model instructions are unavailable, ask the manufacturer before descaling.
When deep cleaning is necessary, how to clean a moka pot
Deep cleaning and occasional descaling are needed when mineral deposits reduce flow, change extraction, or when you notice visible white scale inside the boiler or on the funnel. In areas with hard water, scale builds faster because calcium and magnesium salts precipitate and collect inside the pot, so adjust cleaning frequency for local water hardness USGS water hardness.
Use the cleaning method specified for your pot model. Avoid improvised acid concentrations and soaking times, and do not immerse the gasket or valve in descaler. If the model instructions are unavailable, ask the manufacturer before descaling.
Daily and after-each-brew care: small habits that prevent deep dirt
Disassembly and rinsing routine
Step 1, cool the pot fully. Do not try to speed cooling with cold water while the pot is hot, as sudden thermal shock can warp thin aluminium.
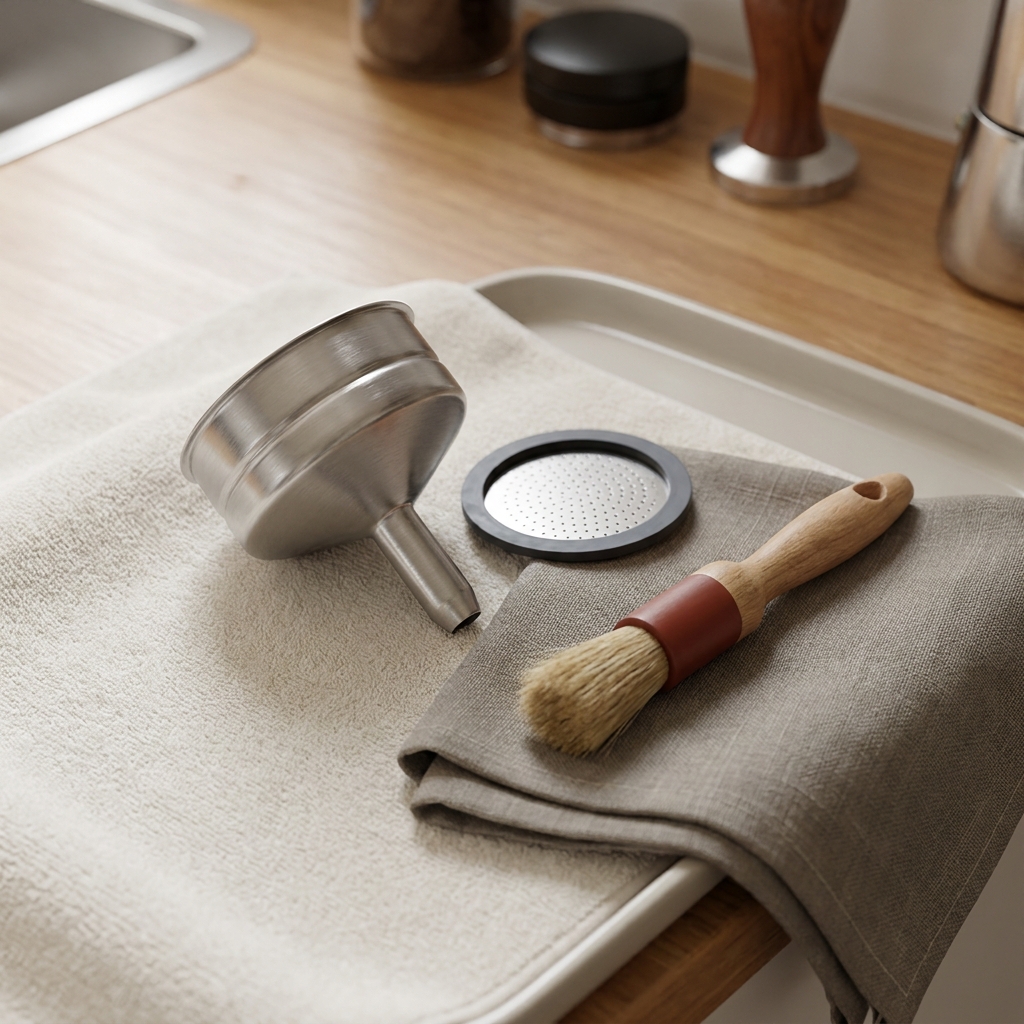
Step 2, unscrew and separate the lower chamber from the upper chamber. Remove the funnel filter and the filter plate, and gently lift out the gasket. Rinse every removed part with warm water to remove fresh coffee oils and grounds.
Cleaning the funnel, filter plate and gasket
Rinse the funnel under running water and use a soft brush or a non abrasive cloth to clear grounds. Check the holes in the filter plate visually and blow or brush them free if clogged, then rinse the plate thoroughly. This routine prevents grounds packing and slow flow, which can otherwise mimic scale problems.
Do not use dish soap on aluminium parts and do not scrub with abrasive pads. Manufacturer advice is explicit that detergents, abrasive pads and dishwashers can damage the surface and affect taste, so reserve any mild cleaner only for non aluminium parts if your model has them.
Drying and reassembly tips
Dry all pieces with a soft towel or let them air dry upside down. Ensure the safety valve is free moving and not clogged before you reassemble; slide a clean cloth around the valve housing to clear residue and visually inspect its movement.
Reinstall a dry gasket and the filter plate, screw the top and bottom chambers together snugly but not overly tight. Store the pot disassembled if you do not plan to use it for some hours, so trapped moisture does not promote odors or slow corrosion on seals.
When to descale: signs, frequency factors and how water hardness matters
Visual and performance signs you need to descale
Common signs that you need a deep clean or descaling include visible white or off white deposits, reduced flow through the funnel, longer heat up and brew times, and louder or irregular gurgling during extraction. These symptoms usually signal calcium carbonate scale in the brewing path.
If the safety valve shows crusting or the lower chamber has a rough white film, descaling can restore normal flow and reduce pressure anomalies caused by partial blockage; inspect before each descaling attempt to confirm the problem.
a quick household checklist to check water hardness and need to descale
How water hardness changes frequency
Hard water contains more calcium and magnesium, which precipitate as carbonates and form scale faster than soft water; users in high hardness regions will need to descale more often than users on soft water supplies, so tailor maintenance to the local conditions USGS water hardness.
Rather than a fixed interval, decide descaling frequency from use level and visible signs. For example, low daily use in a soft water area can go many months between descalings, while frequent use in a hard water area may require a monthly or several months cadence depending on results and taste.
Deciding a descaling schedule for your situation
Make a simple decision rule: inspect every month for scale if you use the pot daily; if you see white deposits or restricted flow, perform a controlled descaling immediately. Use a short test brew of plain water after descaling to confirm flow and taste are restored.
Keep a maintenance log or a note on the pot to track descaling dates. This helps you learn how fast scale accumulates where you live and prevents surprises that affect safety or flavor.
Step by step: safe deep cleaning and controlled descaling with citric acid
Prepare and disassemble safely
Work on a clean surface with fresh water available. Ensure the pot is fully cooled and depressurized. Separate the upper and lower chambers, remove the funnel, filter plate and gasket, and place the parts on a towel for cleaning.
Check the safety valve visually and by feel to confirm it is free moving. If the valve is stiff or blocked, do not attempt a full brew until the valve is cleared or inspected by a qualified service source; a blocked safety valve is a safety risk and needs addressing before returning the pot to regular use.

Citric acid descaling method, timing and rinse protocol
Use the cleaning method specified for your pot model. Avoid improvised acid concentrations and soaking times, and do not immerse the gasket or valve in descaler. If the model instructions are unavailable, ask the manufacturer before descaling.
After the soak, empty the solution and rinse all parts thoroughly under running water several times. Reassemble the pot and run at least two full cycles of plain water on the stove without coffee to purge any remaining acid or loosened scale. This test brew also confirms that flow and pressure have returned to normal and that the pot tastes neutral.
Alternative gentle options and what to avoid
Use the cleaning method specified for your pot model. Avoid improvised acid concentrations and soaking times, and do not immerse the gasket or valve in descaler. If the model instructions are unavailable, ask the manufacturer before descaling.
Use the cleaning method specified for your pot model. Avoid improvised acid concentrations and soaking times, and do not immerse the gasket or valve in descaler. If the model instructions are unavailable, ask the manufacturer before descaling.

Troubleshooting, wear parts and when to replace components
Gasket and filter replacement signs
Gaskets and filter plates are wear parts and should be replaced when you notice cracking, hardening, deformation or any leakage during brewing, because leaks reduce seal integrity and create unsafe pressure paths.
If your brew develops a steady leak from the joint or you cannot achieve a tight seal despite correct assembly, inspect the gasket for permanent compression set or surface changes and replace it as needed. Keep spare gaskets on hand if you use the pot frequently.
Safety valve problems and remedies
The safety valve should move freely and show no visible obstruction. If the valve is sticky, try to clear debris with a soft brush and rinse under water; if it remains stiff stop using the pot until the valve can be replaced or serviced, because a malfunctioning safety valve can compromise safe operation.
Do not attempt to disassemble the safety valve body in the field unless your manufacturer documentation covers that procedure. If you are unsure, consult official guidance or a qualified repair source rather than improvised repairs that could change valve characteristics.
What not to try at home
Avoid abrasive grinding, sanding or aggressive chemical etching to remove scale. These approaches can thin or roughen aluminium, change heat transfer and increase aluminium release into brewed liquid. Conservatively prefer short, mild acid contact and mechanical brushing with soft tools when necessary Aluminum corrosion care.
Also avoid using dishwasher cycles on aluminium components. Dishwashers combine heat, detergents and salts that can accelerate dulling and scale binding on aluminium surfaces, and manufacturers explicitly advise against it for many classic pots.
Sample cleaning routines, a printable checklist and final takeaways
Example routines for light, medium and heavy use
Light use, soft water: rinse all parts with water after each brew, air dry and inspect monthly for any visible scale. Descale only if you see deposits or flow slows.
For a Bialetti model that permits descaling, follow its stated boiler-fill level, cleaner amount and rinse steps. Other moka pots may require a different method. Never mix cleaners or heat an empty boiler.
For a Bialetti model that permits descaling, follow its stated boiler-fill level, cleaner amount and rinse steps. Other moka pots may require a different method. Never mix cleaners or heat an empty boiler.
A concise checklist the reader can follow
- Cool, disassemble and rinse with water after each use.
- Inspect gasket, filter plate and safety valve for wear or blockage.
- For a Bialetti model that permits descaling, follow its stated boiler-fill level, cleaner amount and rinse steps. Other moka pots may require a different method. Never mix cleaners or heat an empty boiler.
- Run two plain water brews after descaling to flush residues.
- Replace gaskets or filter plates that are cracked, hardened or leaking.
Final safety and taste reminders
Avoid detergents, abrasive pads and dishwashers on aluminium moka pots to preserve flavor and surface condition, as manufacturers advise.
When in doubt about a valve or a severely corroded part, pause use and consult official guidance rather than risk a repair that could change safety characteristics. Proper routine care and timely replacement of wear parts keep the pot brewing well and reduce the need for aggressive cleaning.
Frequently asked questions
How often should I descale my moka pot?
Descale based on visible scale and local water hardness; inspect monthly with daily use and perform descaling when you see white deposits or reduced flow.
Can I use vinegar to descale an aluminium moka pot?
Use the cleaning method specified for your pot model. Avoid improvised acid concentrations and soaking times, and do not immerse the gasket or valve in descaler. If the model instructions are unavailable, ask the manufacturer before descaling.
Is it safe to put a moka pot in the dishwasher?
No, manufacturers advise against dishwashers for aluminium pots because detergents and salts can damage surfaces and affect taste.
Use the cleaning method specified for your pot model. Avoid improvised acid concentrations and soaking times, and do not immerse the gasket or valve in descaler. If the model instructions are unavailable, ask the manufacturer before descaling.
Manufacturer care
Bialetti: daily and deeper moka care. Match the guidance to your own model. Stop using a pot with a blocked valve, leaks or damaged components.