Choose one serving size
Write down the amount of water you want to brew, rather than buying by an ambiguous cup count. Check that the dripper, filter and serving vessel are compatible. Leave room in the vessel; the water you pour in is not identical to the beverage you collect because the grounds retain liquid.
Keep the first setup simple
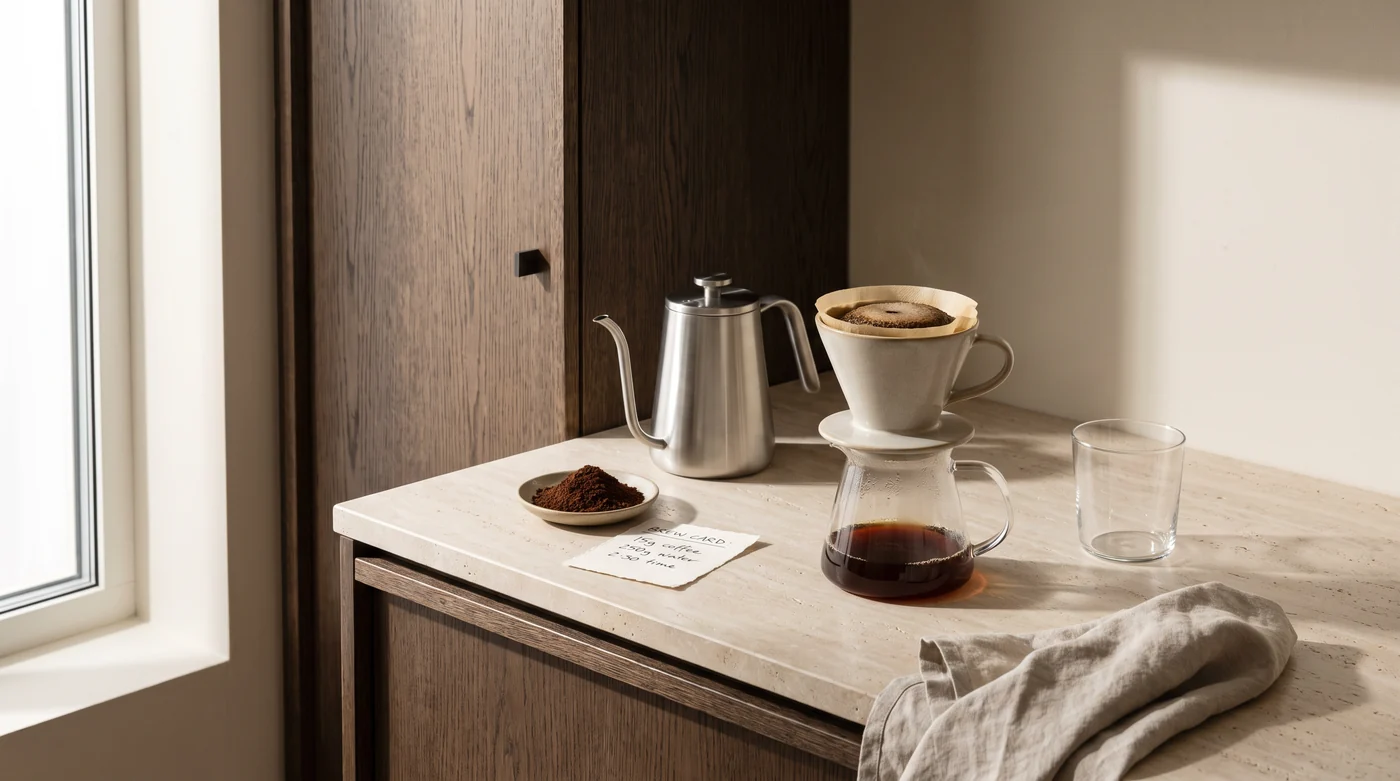
A dripper, its specified filters, a stable heat-safe vessel, coffee and a way to measure water are the core decisions. A scale helps you record coffee and water without translating between spoons and grams. Check that the scale can support the vessel and still show its display. A pouring kettle can offer control, but first establish what your existing kettle can do safely.
Write a short brew card
Record the coffee, grind, dose, water and your pouring sequence. Use the brewer’s instructions as the initial method. For arithmetic practice, 20 g at 1:16 gives 320 g of input water. That example is not a tested recipe for every dripper. Use the calculator to resize the same ratio without changing several factors at once.
Change a useful variable
If you dislike the cup, describe why before changing equipment. Keep dose and water steady while trying a small grind change. Record what changed in the cup and how the brew behaved. If pouring is awkward or the filter does not fit, resolve that practical problem before judging the coffee.
Before you buy
Confirm replacement-filter availability, cleaning access and whether the dripper can sit securely on your chosen vessel. These checks are more useful than a long list of accessories purchased before your first brew. The linked HARIO example identifies its dripper, server and paper filters as one compatible set. It is a manufacturer setup reference, not our tested verdict or a requirement to buy that kit.